Visa Application Simplified: Build a no-gaps visa timeline from US documents to embassy submission
A no-gaps visa timeline helps you stop guessing. Turn US documents into embassy-ready packets with an apostille timing plan you can actually follow.

You're at the kitchen table with a mug of coffee going cold and a stack of US papers that looks bigger than your carry-on. Maya Camp is sorting copies into labeled folders when her phone buzzes with a message from her partner: "Are we sure the embassy wants originals or copies?"
That question is the moment the whole process either feels manageable or feels like a prank. The good news: you can build a "no-gaps" visa timeline that protects you from delays, missing signatures, and apostille timing surprises.
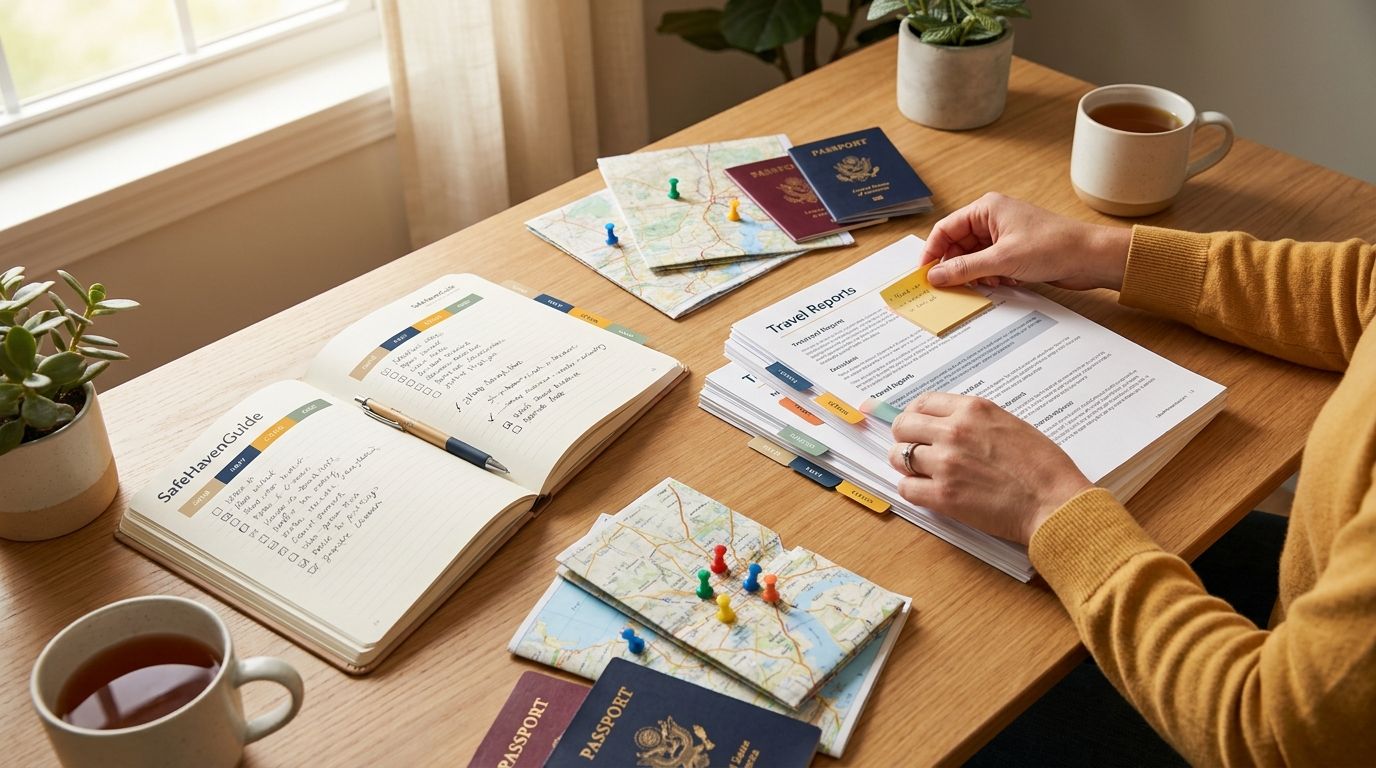
A visa timeline is not a wish. It is a plan that matches how long each step actually takes, including the boring parts like getting documents notarized and apostilled. With SafeHavenGuide's adaptive learning system, you can turn that plan into a visa planning checklist that stays realistic from your first document request all the way to your embassy submission date.

The no-gaps idea: plan backwards from the embassy submission date
Most visa timelines fail because they start with the first document you touch. You end up sprinting at the end because you underestimated the gap between "we have everything" and "the embassy actually accepts our packet."
Instead, build your timeline backwards from one anchor date: your embassy submission target. That date could be tied to an appointment window, a school start date, or a work contract. Pick a date that matters, then protect it.
Here's the simplest mindset shift: treat each step as a dependency.
- If you need apostilles, you need notarization first.
- If you need translations, you need the finalized document first.
- If you need medical or police checks, you need the local process to finish before you can package everything.
When you plan backwards, you leave room for the steps that don't move fast. Not every country runs at the same pace. Even within the same country, processing time can stretch.
Your goal is no-gaps timing: there is no period where one required document is sitting around waiting on another required document to exist.
What "no-gaps" looks like in real life
Maya's first gap showed up when she realized her marriage certificate copy was fine for some paperwork but not fine for the embassy packet. She had to redo the document request and then redo the notarization. That took time she didn't have.
So she switched her method. She stopped asking "What do we need?" and started asking "What comes immediately before embassy submission?"
If your embassy submission packet needs apostilles and translations, your last two steps are usually:
- apostilles on US documents
- translations (done after the apostilled documents are ready, if that's what your destination requires)
That means your earlier steps must produce documents that can be apostilled without rework.
Turn US documents into embassy-ready files with a practical sequence
You can simplify the expat visa process without pretending it's easy. The trick is running a consistent sequence so you don't keep rehandling the same paper.
Think of your US documents as raw material. Your job is to make them "embassy acceptable" by the time you submit.
A sequence that usually works for Americans
Not every visa type is identical, but the workflow is often similar for expat visa applications. Use this as a backbone, then follow your embassy instructions for the final order.
1) Gather what you already have
Start with what exists today: passports, birth certificates, marriage certificates, divorce decrees, and any prior immigration documents you already hold. For children, you may also need proof of relationship.
If you're missing something, order it early. Vital records can take longer than you expect, especially if you need certified copies.
2) Notarize what needs notarization
Some visas require notarized statements or affidavits. Others require notarization before an apostille can be issued. If your destination uses apostilles, notarization is usually the bridge.
This is where "we'll do it later" becomes expensive. A notarization appointment can be easy to schedule, until it isn't. Notarize too late, and you pull apostilles dangerously close to your submission date.
3) Apostille timing: schedule it like a deadline, not a task
Apostille timing is where people get blindsided. Even when you use official processes, you can run into processing queues, requests for corrections, and mailing delays.
So you treat apostilles as a time block, not a single date on your calendar. A practical rule: build your timeline with apostille processing buffers. If a state office says "X weeks," you plan for "X plus life."
4) Translation after the document is finalized
Translations are not a "nice to have." They are part of the document's validity for the embassy packet. If your visa instructions require translations to match the apostilled text, do translations after apostilles are complete.
Also keep an eye on formatting. Some embassies want translated documents signed and stamped by a translator who meets their specific requirements.
5) Assemble your embassy submission packet
Once documents are apostilled and translated, assemble the packet exactly as instructed. This is where formatting and order matter.
A lot of rework comes from small mistakes: missing a signature page, using the wrong version of a certificate, or submitting copies when originals are required.
Common US document pitfalls that create timeline gaps
If you want a no-gaps timeline, you need to know where gaps start.
Here are the usual culprits:
- Using uncertified copies when the embassy needs certified copies
- Not matching names exactly across documents (spelling, hyphens, middle names)
- Notarizing the wrong version of a document
- Getting apostilles too late and then discovering a translation requirement
- Letting documents expire before submission
You can prevent most of these with one habit: keep a "document version log." Write down the version date, where it came from, and whether it is certified, notarized, apostilled, and translated.
That log sounds nerdy. It saves you from panicking when you're holding three nearly identical papers at 11:30 p.m.
Build your visa timeline checklist like a dependency map
Your visa timeline should look like a checklist, but it should also show dependencies. A checklist tells you what to do. A dependency map tells you what must happen before what.
If you want a simple way to do this, use three layers:
- Document layer: each document and its status
- Process layer: notarization, apostille, translation, medical, police check
- Submission layer: embassy appointment, online submission upload, packet final review
A no-gaps timeline template you can copy
Use this as a planning structure. Fill in dates based on your destination's requirements and your embassy's instructions.
- T-90 to T-75 days: start US document requests
- order certified vital records
- confirm which documents require apostilles
- T-75 to T-60 days: notarize required statements and documents
- schedule notarization appointments
- avoid notarizing versions you might need to redo
- T-60 to T-40 days: apostille timing block
- submit apostille requests as soon as notarization is complete
- track mailing and processing status
- T-40 to T-30 days: translations
- translate apostilled documents if required
- confirm translator requirements (signatures, stamps, format)
- T-30 to T-20 days: medical and police checks (if required)
- schedule exams and request police certificates early
- make sure results meet embassy validity windows
- T-20 to T-10 days: final packet assembly and review
- verify document order and required originals
- double-check name matching and signature pages
- T-10 to T-0 days: embassy submission
- upload or submit the packet
- keep a full copy set for your records
That range is intentionally wide. Some steps move faster, some move slower. You're buying stability, not speed.
The "buffer" part you actually need
A no-gaps timeline still needs buffers. The trick is to place them where delays hurt most.
Put your buffers around:
- apostille timing
- translation turnaround
- any step that depends on a third party (police certificates, medical exams)
Keep your buffers smaller around tasks you control: printing, sorting, filling forms. Unless your printing setup is a mess. (It is. Mine was.)
How to run your timeline week by week
Once you set your dates, run it weekly, not daily.
Every week, you update three things:
- What documents are ready for the next step (notarization, apostille, translation)
- What step is waiting on another step
- What you can start now even if something else is late
This is where the emotional side of the process matters. Visa planning is stressful because you feel like you're waiting. A weekly update makes your waiting feel productive.
Maya did this by setting a Sunday 20-minute ritual. She would check the status of apostille requests, confirm translation appointments, and make sure she wasn't holding a document that couldn't be used.
It didn't remove stress. It gave her control back.
Embassy submission: how to avoid the last-minute paper chaos
Embassy submission is where people discover they are missing the one thing they thought was optional.
The fix is a final review system that is boring on purpose.
Your embassy submission checklist should include these checks
Before you submit, you verify:
- You submitted the correct document type (certified, apostilled, translated)
- Names match exactly across every document
- Originals or certified copies are included based on embassy instructions
- Photos, forms, and signatures match the embassy format
- You kept copies of the entire submission packet
If the embassy accepts online submission, you still need a physical copy set. Upload errors happen. File size limits happen. And sometimes the embassy asks for documents again.
Keeping a copy set is not paranoia. It is preparedness.
Do a "packet dry run" before you mail or submit
A dry run takes 30 minutes and saves hours later.
Here's how you do it:
1) Lay out your packet in the order your instructions list.
2) Put a sticky note on each section showing status (apostilled, translated, original included).
3) Compare your packet against the exact visa planning checklist you wrote.
When Maya did her dry run, she caught a simple issue: a translated document was missing the required translator signature page. Easy fix because she caught it early. It would've been a painful fix if she had submitted first.
Track your submission date like it matters (because it does)
Even if you don't control processing time, you can control your timeline.
Write down:
- submission date
- receipt number or confirmation email
- who you contacted for updates
- the last date you checked status
This helps if you need to respond to requests for additional documents. It also helps you manage life while you wait.
Waiting is easier when you're not also trying to reconstruct what happened and when.
Community wisdom: what to do when something slips
You will hit delays. That is not a failure. It is the process.
When a document is late, you do two things:
- Protect apostille timing by not submitting the next step until the previous step is truly done
- Keep moving on tasks that do not depend on the delayed document
For example, while you wait for an apostilled birth certificate, you can often work on forms, gather supporting evidence, and confirm translation requirements for other documents.
If you are waiting on a police certificate or medical exam, you can still assemble your packet draft and organize your record copies.
A note about mental load
You're not just doing paperwork. You're planning a life change. Every delay feels personal.
So give yourself permission to be imperfect and still organized. Your goal is not to have zero stress. Your goal is to make stress smaller by knowing what comes next.
SafeHavenGuide exists for that exact moment. When you feel behind, you need a visa timeline that tells you what to do today, not what you should have done last month.
FAQ
How far in advance should I start my visa timeline?
Start at least 2 to 3 months before embassy submission for many common expat visa processes, especially if you need apostilles and translations. If your US documents are missing or you need police and medical steps, start earlier. The right window depends on your destination's requirements and the speed of your state apostille office.
What is apostille timing, and why does it matter?
Apostille timing is the time it takes to get an apostille on notarized US documents so they are accepted abroad. It matters because it is often the slowest step you cannot fully control. If you get apostilles too close to submission, you can end up redoing translations or reassembling your packet.
Can I translate documents before they are apostilled?
Sometimes you can, but many embassy instructions require translations to match the final apostilled document text and format. If your instructions say translations must be done after apostille, follow that order. When in doubt, wait on apostille completion and then translate.
What if my embassy submission packet requires originals but I only have copies?
You need to follow the embassy's instructions exactly. If originals are required, you must obtain the correct originals or certified copies as specified. Keep a document version log so you can prove what you submitted and what you still need.
Your next step: pick your anchor date and map dependencies today
Set your embassy submission target today. Write it at the top of a page. Then work backwards and fill in your visa timeline checklist based on dependencies: US documents, notarization, apostille timing, translations, then final packet assembly.
If you do that, you stop guessing. You start planning.
And when the process gets messy, you won't be starting from scratch. You'll be returning to a plan you already built, like a lifeline on the kitchen table.
Join the conversation
Subscribe to comment
Join SafeHavenGuide's newsletter to leave a comment and get new posts in your inbox.