
Visa Application Simplified: A Step-by-Step Guide to Document Translation, Apostilles, and Notarization for Americans
Translations, apostilles, and notarization can feel like a maze. This guide turns it into a clear checklist you can follow without guessing.
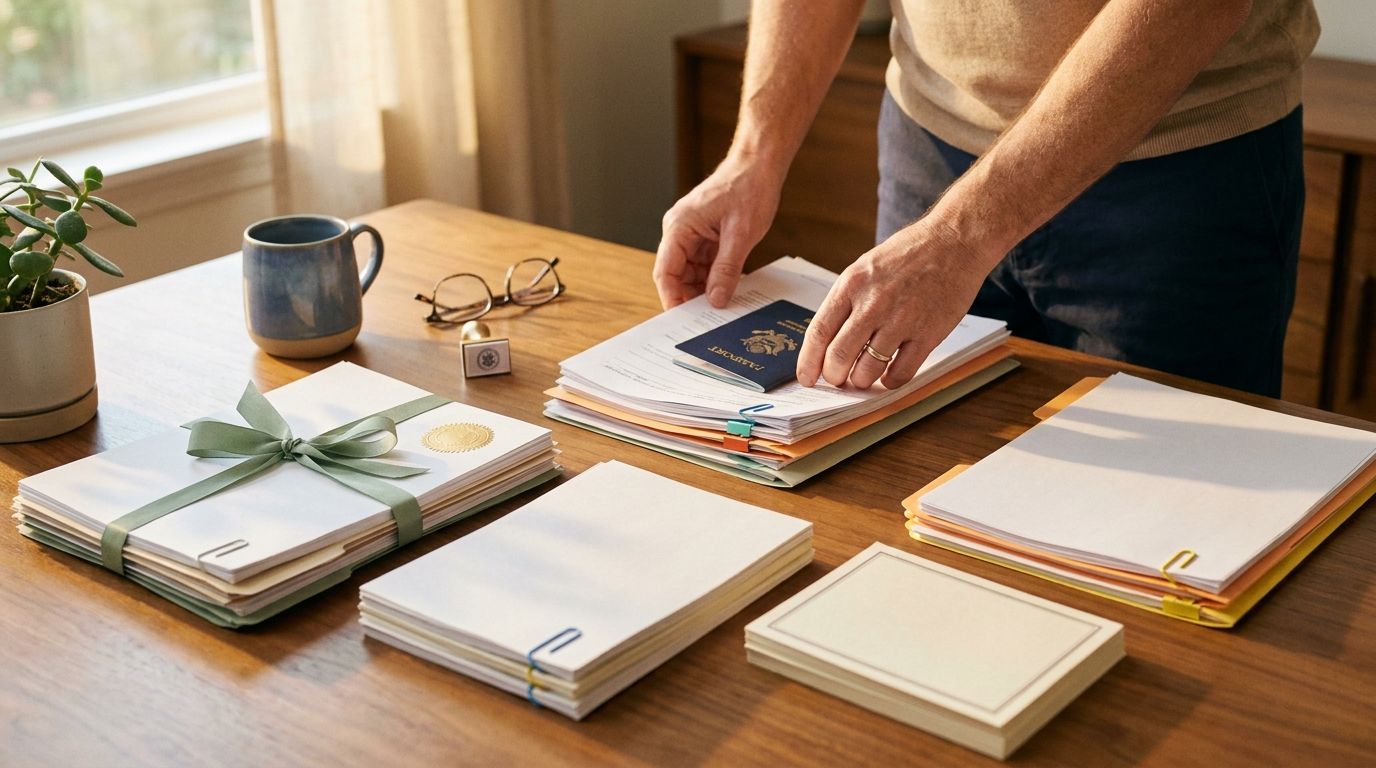
You are at your kitchen table with a stack of papers and a half-dead highlighter. Your partner asks, "So do we notarize first or apostille first?" Here is the answer: notarize first, then apostille the notarized signature, then translate the apostilled document if the destination country requires it.
This guide walks you through the exact order, what each stamp actually does, and how to avoid the mistakes that delay visa applications. You will also see realistic scenarios from Americans applying for visas abroad, with the kind of details that show up in real document requests.
Why these three steps exist (and why your visa office cares)
Visa offices do not ask for notarization, apostilles, and translations because they enjoy paperwork. They ask because they need proof that a signature or document is real, and they need the content to be readable.
Notarization is a local process. A notary public verifies your identity, witnesses your signature (or confirms that a copy is a true copy, depending on what you need), then signs and applies a notary seal.
An apostille is the international stamp confirming that the notary, or the issuing authority, was legitimate. The apostille comes from a government authority in the country where the document originated. For American documents, that typically means your state or a designated agency. If the destination country belongs to the Hague Apostille Convention, apostilles are generally accepted in place of embassy legalizations.
Translation is the "readable" step. Many countries require a translation into the local language, and they often require it to be certified. A certified translation includes a statement from the translator confirming the translation is complete and accurate, plus the translator's credentials and signature.
One annoying truth: visa offices can require different combinations. Some countries want notarized and apostilled documents, then a translation of the apostilled document. Others accept a translated document with the translator's certification but still require the apostille for the original signature. Your destination's checklist matters more than any generic advice.
With SafeHavenGuide's adaptive learning system, you can track which documents your visa path needs, then map each document to the right order so you do not apostille the wrong version and lose a week. (This has happened to real people. Not naming names. It was me.)

The order you should use in most American visa cases
Most visa document workflows follow a pattern. The safest default is: notarize first, apostille second, translate third. Confirm with your visa checklist, though, because some documents behave differently.
Here is the logic.
Notarize when a signature must be verified. If you are signing a power of attorney, an affidavit, a consent letter for a minor, or a certified copy request, you generally need a notary stamp first. Apostille the notarized signature. The apostille attaches to the notarized document. If you apostille a document that is later revised, you often end up with an apostille that no longer matches the final version. Translate the apostilled document. Translation is not a replacement for apostille. It is a separate readability requirement. Many countries want the translation to reflect the apostilled content exactly.When you should not follow this default order:
- If your document is already issued by a government office and does not require notarization for the visa checklist. Some civil documents are issued in a way that the apostille alone satisfies authenticity requirements.
- If your destination country accepts translations that are not tied to apostilled originals. Less common, but it happens.
- If the visa office asks for translation of the original document, then apostille of the original, then submission of both. Rare, but check.
A practical tip: do not start with a translation appointment. Start with the document that triggers the chain reaction, the notary requirement. If the visa office requires notarized signatures, the notary seal and signature are the anchor.
A realistic scenario: the consent letter for a child in Spain
Maya is an American living in Texas. She is applying for a family visit visa for her 9-year-old to travel to Spain with her aunt. The visa checklist asks for a consent letter signed by Maya, notarized, apostilled, and translated.
Maya visits a local notary, signs the consent letter, and gets the notary seal. Then she submits the notarized letter for an apostille through the appropriate Texas apostille process. After the apostille arrives, she orders a certified translation into Spanish that matches the apostilled text.
If Maya translates first, she might end up re-translating after a correction or if the notary edits the formatting. That is the kind of extra cost that makes you want to throw your printer out the window.
Notarization: what you bring, what you ask for, and what to double-check
Notarization is usually the fastest step, but it is also where you can create a mismatch that ruins apostille or triggers rejection.
When you book a notary appointment, bring the original document and a government-issued ID. Some notaries require additional forms, like proof of address or a signed notary request form. If you are signing multiple documents, bring them all. Do not sign one, go home, then try to sign the rest later, that can lead to inconsistent dates.
Ask the notary for the exact notarization type the visa checklist calls for. Common examples include signature notarization for affidavits or consent letters, copy certification when you need a "true copy" of an original document, and acknowledgment versus jurat, depending on whether you are swearing an oath or simply acknowledging a signature.
You do not need to become a notary expert. You do need to match the visa office's language. If the checklist says "notarized affidavit," that usually means you are signing under conditions the notary then confirms.
Then check the notary output. Make sure the notary seal is present, the notary signature is present, names and dates match your IDs and the rest of the document, and there is no "space for seal" area left blank.
One more detail: if your document includes stamps or attachments, ask how the notary will handle them. Some notaries staple pages and initial across folds. Visa offices can be particular about missing attachments.
Scenario: Daniel's birth certificate translation for a study visa
Daniel is an American applying for a study visa in Germany. The checklist asks for his birth certificate and a translation into German. In his case, he does not need a notarized signature because the birth certificate is an official civil record.
He still needs an apostille for international use. After he gets the apostille on the birth certificate through the correct state process, he orders a certified translation into German.
The key point: Daniel does not notarize his birth certificate. He apostilles the government-issued record, then translates it. Had he notarized it anyway, he might have created a document that does not match the visa office's expectation.
What to ask your notary (copy/paste)
- "Does this document need signature notarization or certified copy notarization?"
- "Will the notary seal and signature appear on every required page?"
- "If I make any edits, do I need to redo the notarization?"
Apostilles: how to submit without losing time (or money)
An apostille proves authenticity across borders. In the US, you usually apply through the state where the document originated. Many states have online portals, mail submission options, or in-person appointments.
Before you submit, confirm three things.
Which agency issues apostilles for your document type. Not all documents go through the same office. Civil records and court documents often follow different routes. Whether your document needs to be notarized first. If it is notarized, you apostille the notarized document. If it is a government-issued record that does not require notarization, you may apostille the record directly. Whether the apostille should be issued as a separate page or attached to the document. Some states attach an apostille certificate or issue it as a separate sheet. The visa office might accept either, but following the apostille authority's standard format is the smarter move.You also need to protect yourself from the "almost right" problem. Do not remove the apostille from the format provided, do not laminate documents, do not try to "tidy up" formatting after apostille, and if you have multiple pages, keep them in the same order.
For timing, build in buffer. Apostille processing can take weeks depending on your state and submission method. If your visa deadline is close, ask SafeHavenGuide for a timeline plan that matches your destination's typical document lead times.
A useful data point: under the Apostille Convention, apostilles are issued for documents intended for use in another contracting state. Processing speed varies by state. Many states offer expedited service for an extra fee, but eligibility rules differ. Treat "expedited" as a possibility, not a guarantee.
Scenario: Priya's apostille for a power of attorney
Priya is an American in Florida. She is applying for a visa that requires a power of attorney so her spouse can handle paperwork while she is abroad. The checklist says the power of attorney must be notarized and apostilled.
Priya signs the power of attorney before a Florida notary. She then submits the notarized document for an apostille. Only after she receives the apostille does she order a certified translation into the destination language.
If Priya gets the translation before the apostille, she might need a revised translation later. Her destination language service might also refuse to translate because the apostille certificate is missing. That is a delay you can avoid.
Certified translations: what "certified" means and how to avoid rejection
A translation is not just someone converting words. Visa offices often require a certified translation, which means the translator certifies accuracy and includes their credentials.
Certified translation requirements vary by country and sometimes by visa type. Some offices accept translations done directly by the translator with a certification statement. Others require specific rules, such as translator registration or notarization of the translator's signature.
Because you are dealing with immigration timelines, treat the destination checklist as the source of truth. If it says "certified translation," do not submit an unverified one.
What to look for in a certified translation packet includes the translator's certification statement, translator name and signature, date of translation, translator credentials or contact information, and exact formatting and content matching the apostilled document.
Also, keep the translation aligned with the original. If the apostilled document has multiple pages, ensure the translation covers each page. If the apostille is a separate page, the translation should include it when the checklist requires translating the entire document set.
A quick test you can do before you pay
Ask the translator to confirm in writing whether they will translate the apostille page if applicable, whether they will use the exact names, dates, and document numbers, and whether they provide a certification statement that matches your destination country's typical requirements.
If the translator cannot answer these questions clearly, keep looking. This is one of those moments where "I think it will be fine" is not a plan.
Scenario: the "right translation, wrong document" mix-up
Marcus is an American applying for a work visa. He had two similar documents: a notarized affidavit and a notarized consent letter for a different purpose. He ordered translations for both, then later realized he had apostilled only one.
The visa office rejected the submission because the translated affidavit did not have the required apostille. Marcus did not need a new translation. He needed the correct notarized document apostilled, then the correct translation attached.
That is why the order matters. Notarize and apostille the right anchor document first, then translate.
Putting it together: a step-by-step workflow you can run on any visa file
So what do you actually do, end to end? Use this workflow as your default, then adjust based on the visa checklist.
Step 1: Gather the exact document set your visa checklist names
Write down each required document and the required treatment. For example:
- Birth certificate: apostille + certified translation.
- Consent letter: notarized signature + apostille + certified translation.
- Power of attorney: notarized signature + apostille + certified translation.
If the checklist uses different wording, copy it into your notes. It helps when you call a notary or translator.
Step 2: Identify the "anchor" document that triggers notarization
Most chains start with a notarized signature. Once you know which document needs notarization, you know what to do first.
Step 3: Notarize the anchor document
Bring originals, sign only when the notary instructs you, and confirm the seal and signature are present.
Step 4: Apostille the notarized anchor document
Submit to the correct state authority. Keep the apostille format intact.
Step 5: Order certified translations that match the final apostilled packet
Ask the translator to translate the apostille page if the checklist requires full document translation.
Step 6: Make a submission-ready packet
Keep one clean set that matches your submission requirements. If you photocopy, do it carefully and do not alter the apostille format.
Here are the common failure points you can actively prevent: apostilling a draft instead of the final notarized document, translating before apostille and then needing a rewrite, submitting a translation that does not include the apostille page when required, and using an uncertified translation.
And yes, sometimes rejection letters are vague. But they often point to one of these mismatches.
A simple "document health check" list
Before you mail or upload anything, check that names match across ID, notarized document, apostille, and translation; dates match across versions; notary seal and signature are visible; apostille is present and not removed; and translation includes the certification statement and covers all pages.
With SafeHavenGuide's adaptive learning system, you can turn this health check into a checklist tied to your actual visa path, so you are not relying on memory while juggling deadlines.
FAQ
Do I need to notarize before I apostille?
In most American visa cases, yes. Apostilles typically confirm a notarized signature, so you notarize first, then apostille the notarized document. If your document is already an official government record that does not require notarization, you may be able to apostille it directly.
Can I translate documents before I get the apostille?
You can, but you often should not. Many visa offices require the translation to match the final apostilled document exactly, including page order and any apostille certificate text. Translate early and you might need a new translation after corrections.
What does "certified translation" mean for visa applications?
It usually means the translator provides a written certification that the translation is complete and accurate, along with their signature, date, and credentials. Your destination country checklist determines the exact standard.
How long does apostille processing take?
It depends on your US state and the submission method. Mail submissions can take longer than online or in-person options, and expedited service is not always available for every document type. Plan for weeks, not days, especially close to visa deadlines.
What if my visa office rejects my documents for translation or apostille issues?
Most rejections come from a specific mismatch: missing apostille, wrong document version, or a translation that is not certified. Ask for the rejection reason in writing if possible, then correct the single failing step rather than redoing everything.
Next step: build your chain before you pay for anything
Pick one required document from your visa checklist and map its chain: notarize, apostille, translate. Do that on paper today, then call your notary and translator with the destination's exact wording. Follow that order and you cut the odds of rework while your timeline is still running.
Join the conversation
Subscribe to comment
Join SafeHavenGuide's newsletter to leave a comment and get new posts in your inbox.